
Help Center

Getting Started
Trading
My Account
Mutual Funds
IPOs
Stock SIP
Gold
NPS
Government Securities
Fixed Deposits
Insurance
Loan
Smallcase
DartStock
Upstox API
NCD
US Stocks
How can I open a new Trading and Demat account?
To open a new account, simply follow these steps:
1. Download the Upstox application from the Play Store or App Store and begin the account opening process.
2. Upon opening the app, if you are registering for the first time, the Sign-Up page will appear.
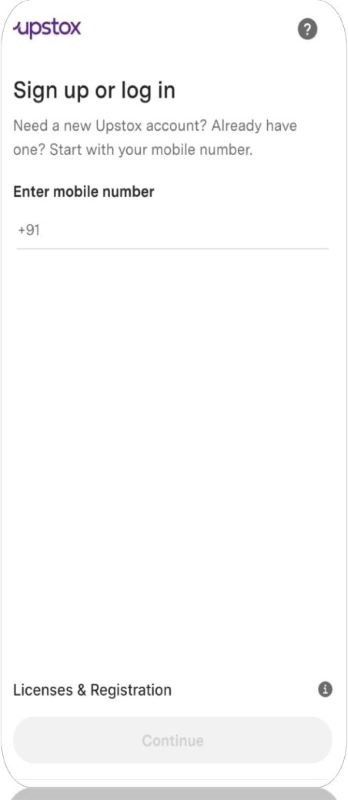
If you have already started with the account opening journey, then you will get an option to login.
3. Enter your mobile number and you will receive an OTP on your registered mobile number with Upstox, enter the same to verify and proceed.
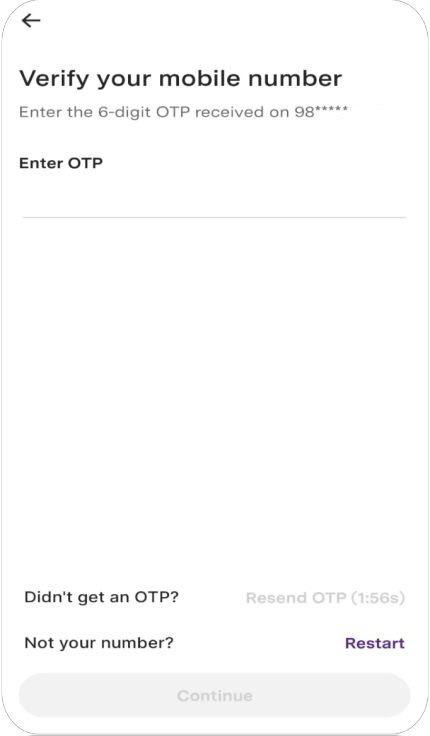
Note:
If the OTP isn’t received, you can resend it.
If the number entered is incorrect, you can tap on “Restart” to begin again.
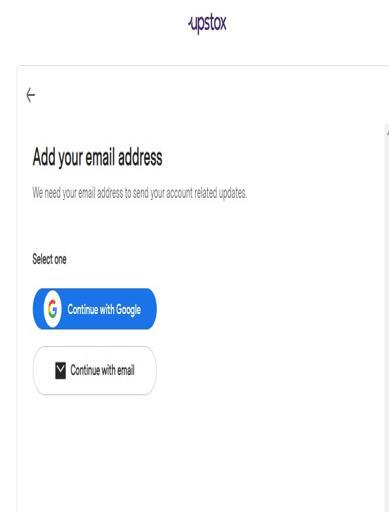
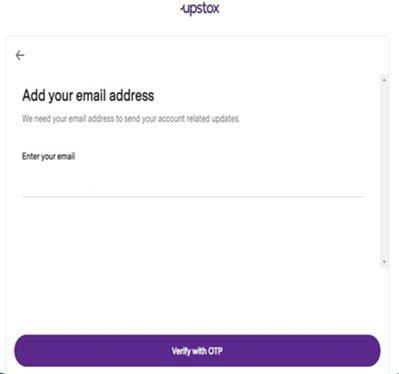
4. Enter your personal email address to receive important account updates from Upstox. You can continue either via “Continue with Google” or “Continue with Email”.
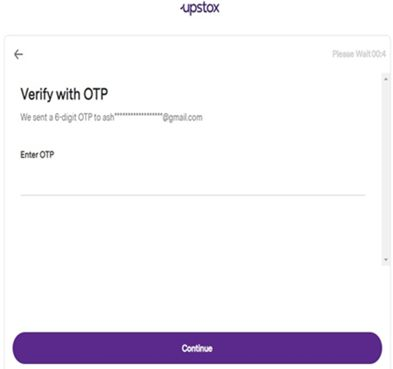
5. Enter the OTP sent to your registered email and verify. Click on “Continue” once done.
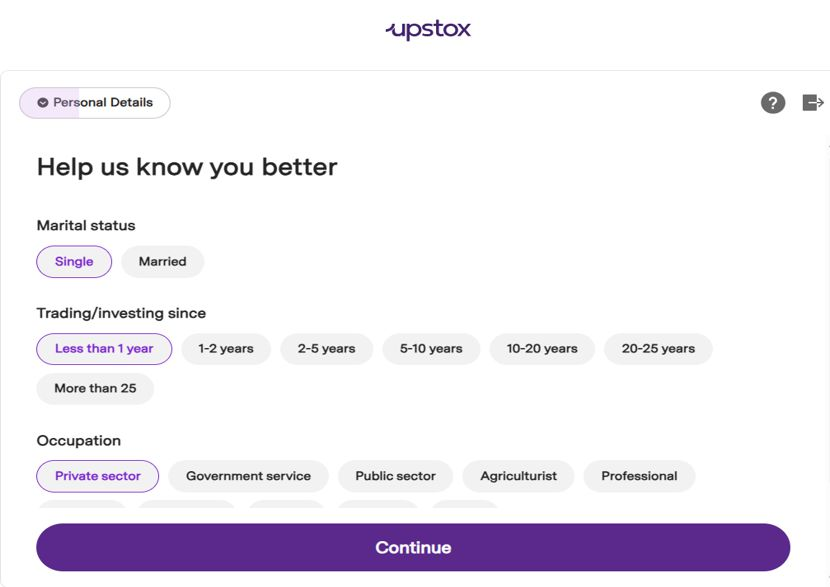
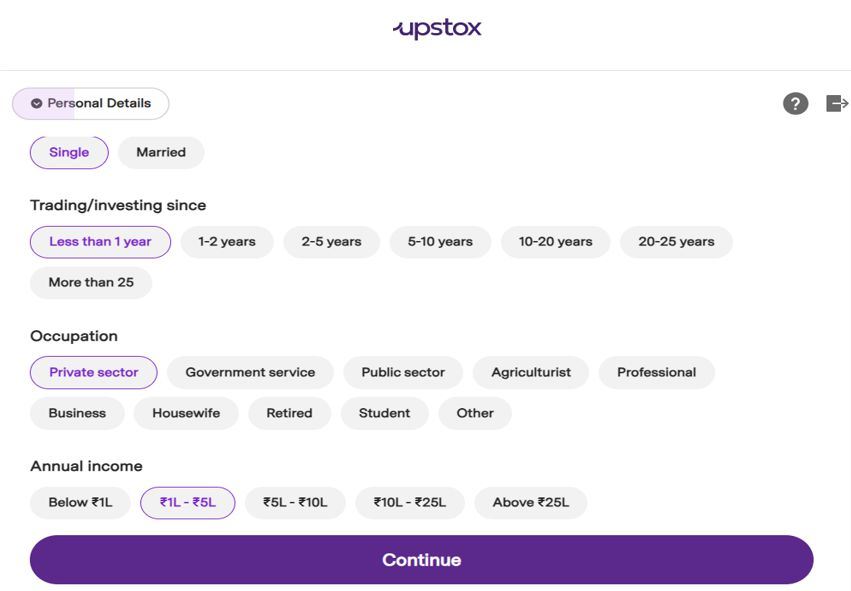
6. Enter your personal details:
- Marital status: Single or Married
- Trading/Investment experience: Select from dropdown (e.g., Less than 1 year, 1-2 years, etc.)
- Occupation: Choose from Private Sector, Govt Service, Business, Housewife, Student, etc.
- Annual income: Select from Below ₹1 lakh to Above ₹25 lakhs
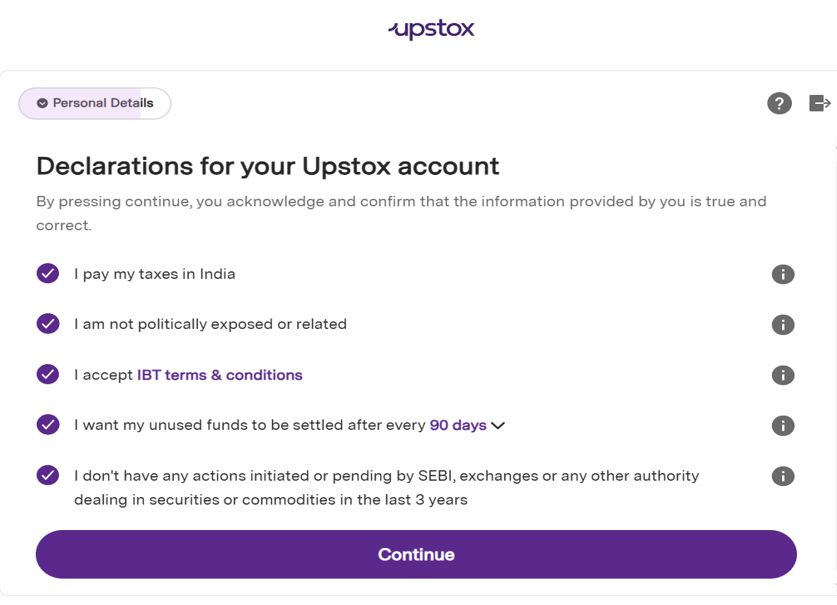
7. Read and acknowledge the declaration by ticking all checkboxes. Click “Continue” to confirm the information provided is accurate.
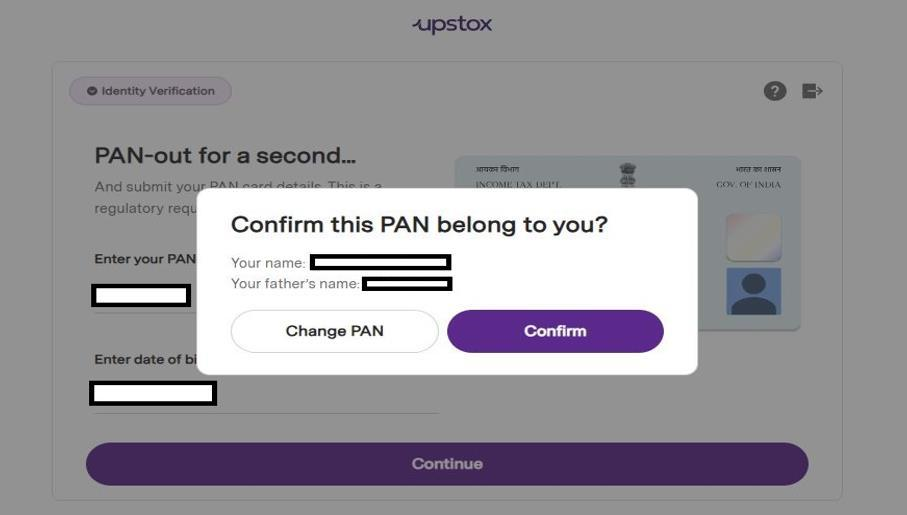
8. In this step, as a regulatory requirement you are expected to submit PAN Card details.
Enter your PAN number and Date of Birth as per your PAN card. Confirm if PAN belongs to you.

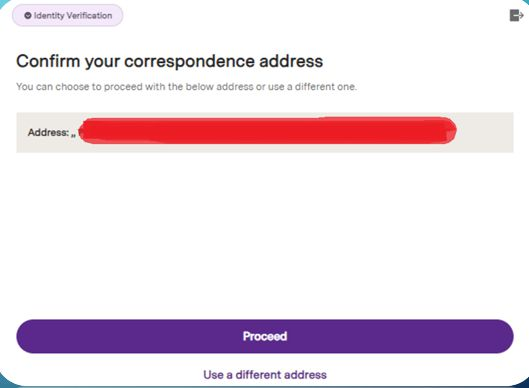
9. In this step, you can proceed with the pre-filled address or click on “Use a different address” to update it through Digilocker.
KRA-Compliant Customers
- If you are KRA-compliant (registered with a KYC Registration Agency), you can skip the detailed KYC process. Your information will already be verified and authenticated.
Non-KRA Customers
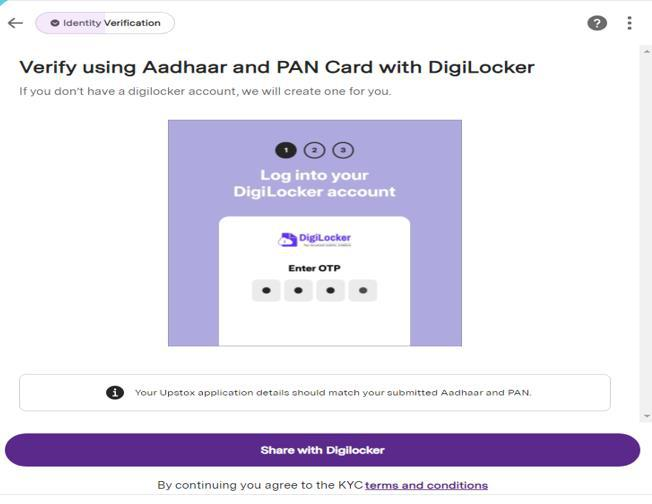
If you are Non-KRA compliant, proceed with KYC verification by linking your Digilocker account. Follow these steps:
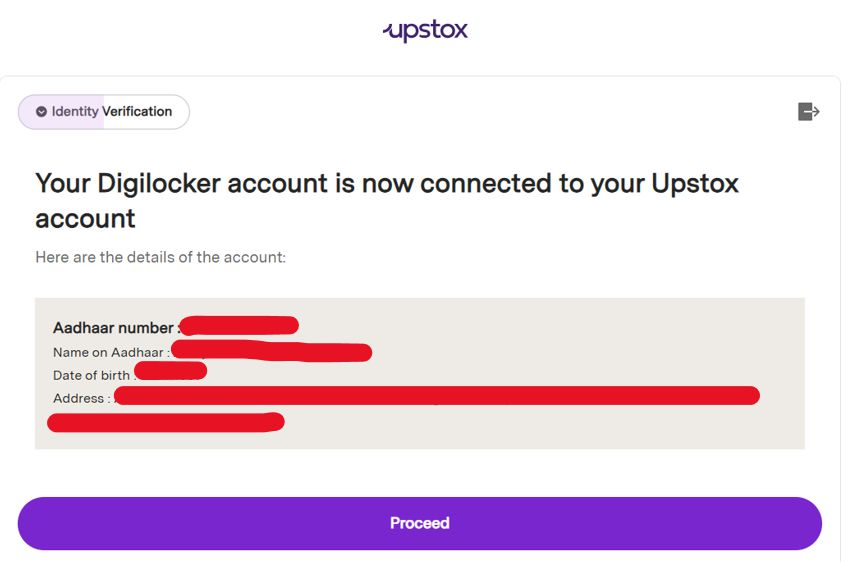
1. Enter your Aadhaar number and complete the OTP verification sent by UIDAI. 2. Use your Digilocker PIN to grant access. 3. Approve PAN and Aadhaar card details in Digilocker to link your account.
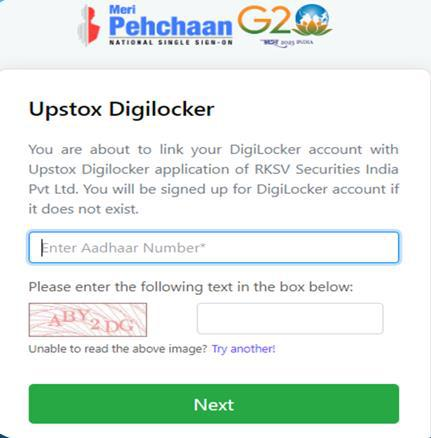
10. While proceeding via Digilocker:
Enter Aadhaar number and captcha → Click Next.
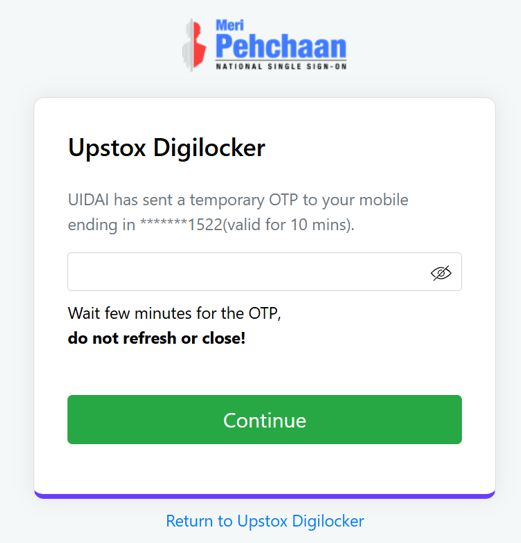
Enter OTP (valid for 10 minutes) received from UIDAI.
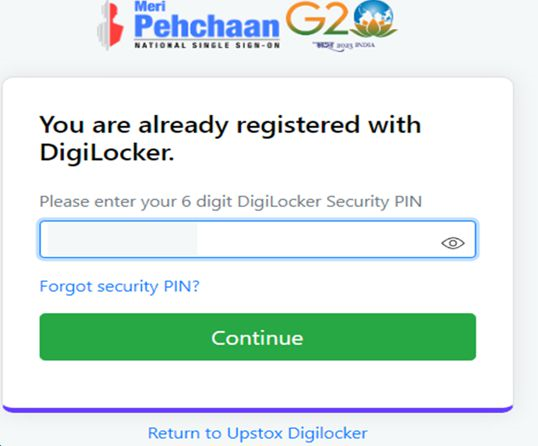
Enter 6-digit Digilocker security PIN → Click Continue.
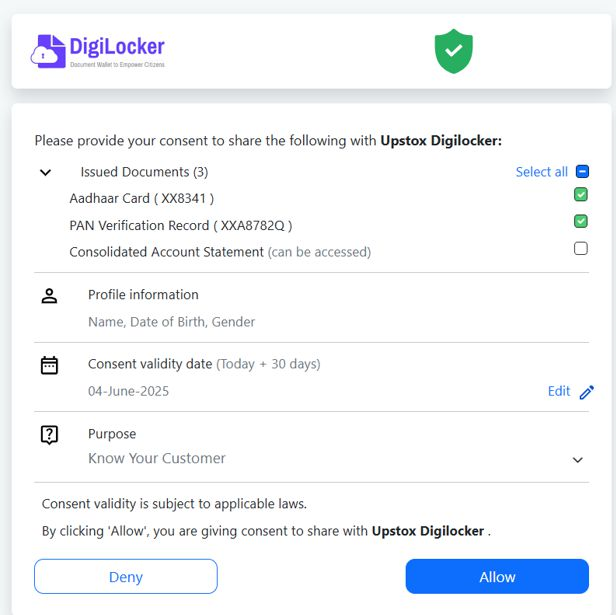
PAN and Aadhaar will be selected by default → Click “Allow”.
Enter Father’s or Spouse’s name → Click Continue.
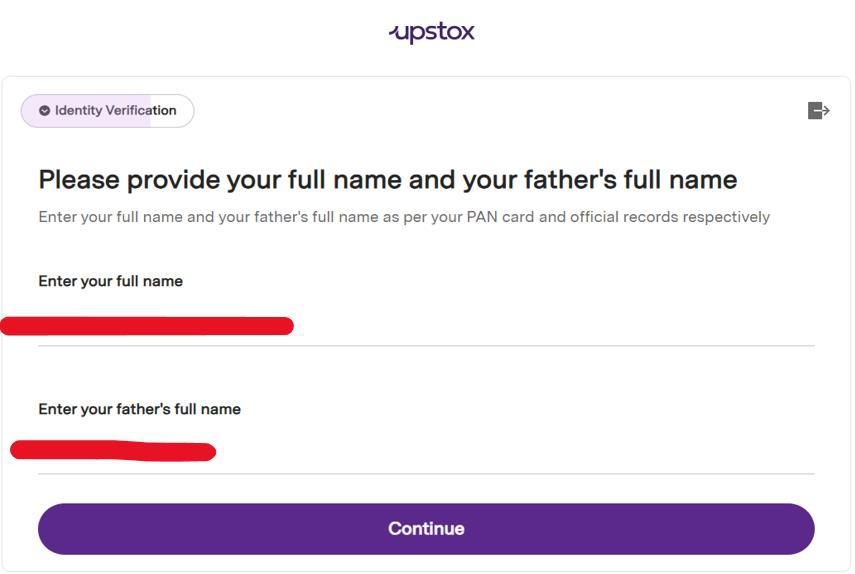
11. Identity Verification (All Customers)
Provide your full name and your father’s full name. Click on ‘Continue’.
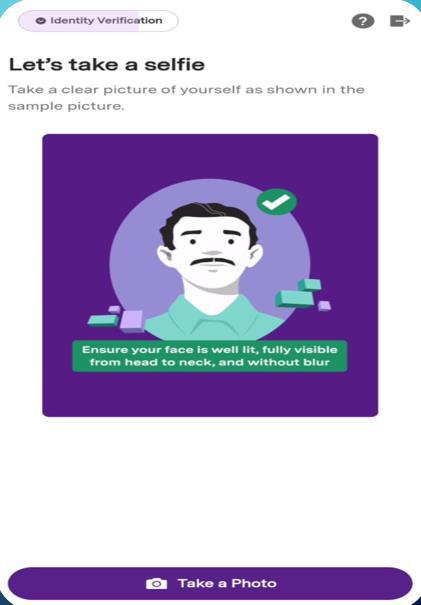
12. In this step, you are expected to take a clear picture of himself/herself as shown in the sample picture.
- The picture should be clear and not Blur.
- You should avoid wearing sunglasses or Cap while clicking a picture.
- You will have to ensure his / her eyes should not be closed.
- There should not be any third party in the background while clicking the picture.
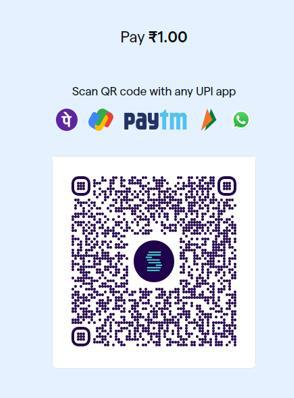
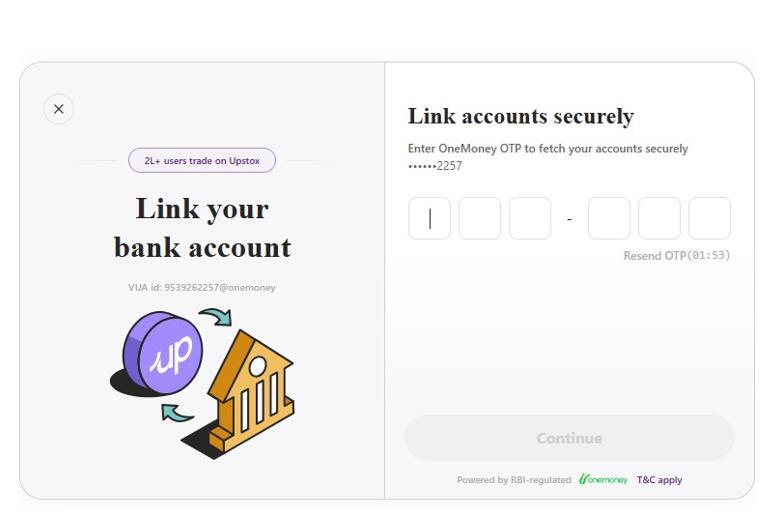
13. In this step, you have to link his/her Bank account with trading and Demat account.
Bank accounts can be added by verifying with UPI or adding bank account details manually.
If verifying via UPI: Scan the QR code → ₹1 will be debited and automatically refunded after linking.

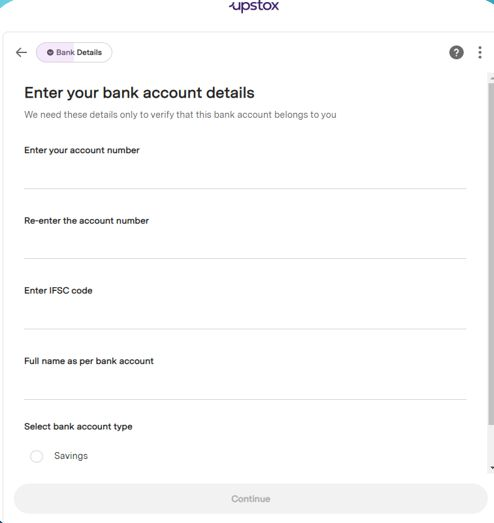
14. If you click on “add details manually” then the customer will get an option to enter bank account details.
You are expected to enter his/her bank account number , IFSC code , Full name as per bank account and select the bank account type.
You can select any 1 account type i.e. Savings /Current.
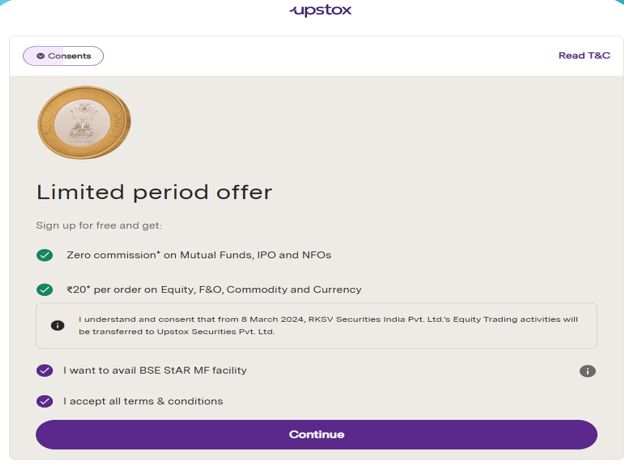
15. The limited period offer page will give information on current running offers.
You have to click on continue after reading offers with terms & conditions.
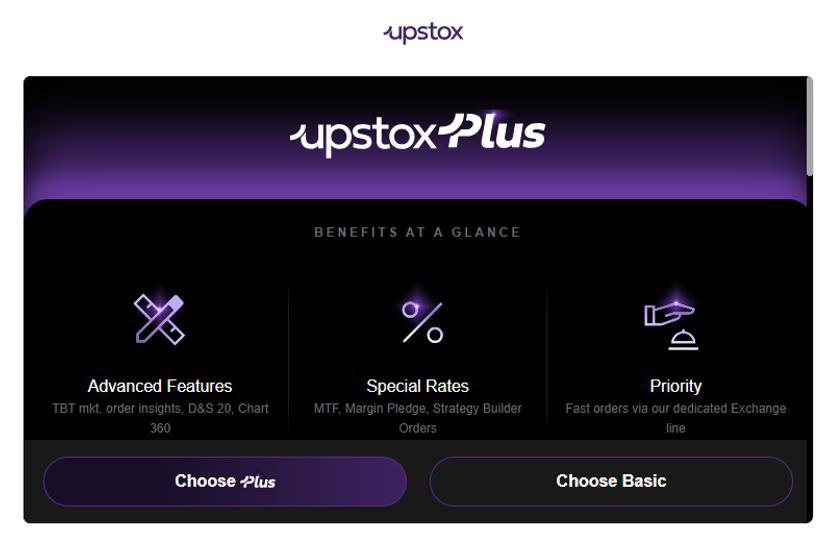
16. Next you will see ‘Brokerage Plan Offer’ where you can choose Upstox Plus or Upstox Basic.
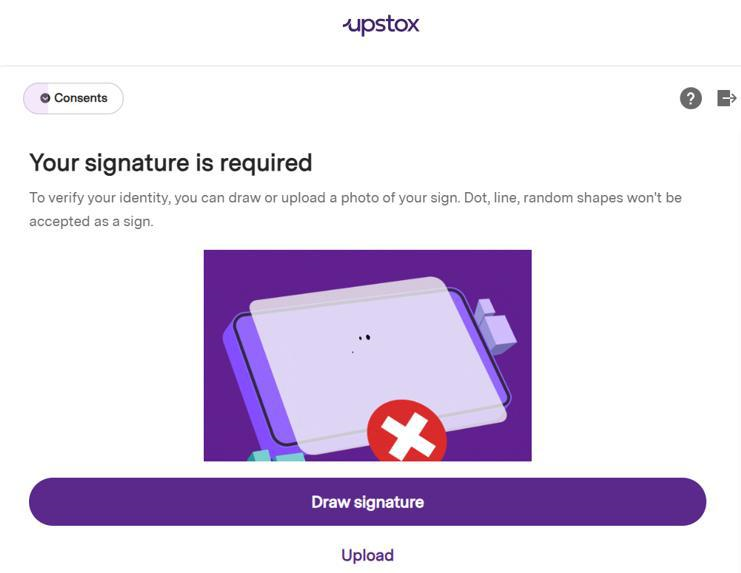
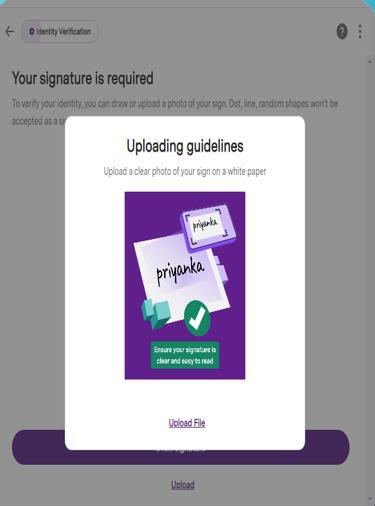
17. Draw or upload your signature:
If drawing: Ensure it is clear, within the box, no initials or scribbles.
If uploading: Use white paper, sign with black/blue pen, avoid initials/scribbles, and ensure clarity.
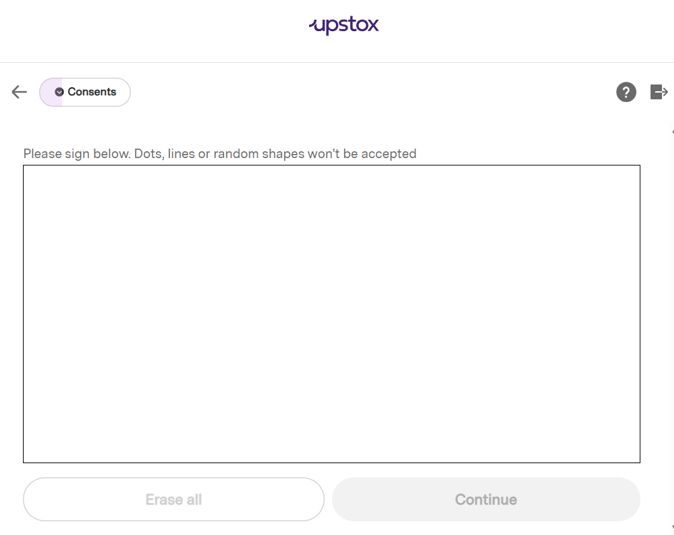
Signature as only Initials will not be accepted.
Scribbling or over writing will not be accepted
You have to ensure that signature is clear and readable
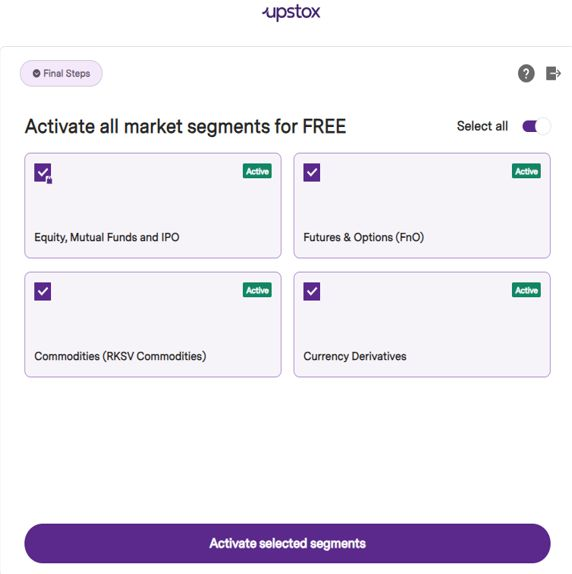
18. Select your preferred trading segments:
Equity, MF, and IPO are selected by default.
Click on “Customize Segments” if you wish to add/remove segments.

19. You will be allowed to trade in the segments that are selected at the time of account opening.
If in case , you wish to activate certain segments later then he/she may do so after following required procedure for activating segments.
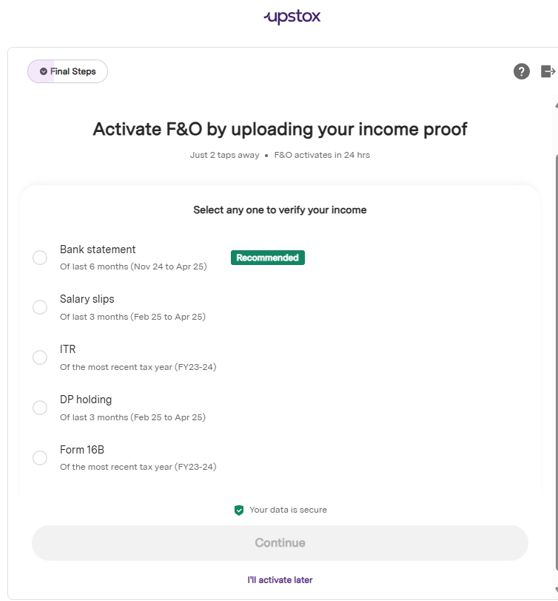
20. If you are willing to activate FNO, Currency or MCX segments then you can link your Bank account for Income proof.
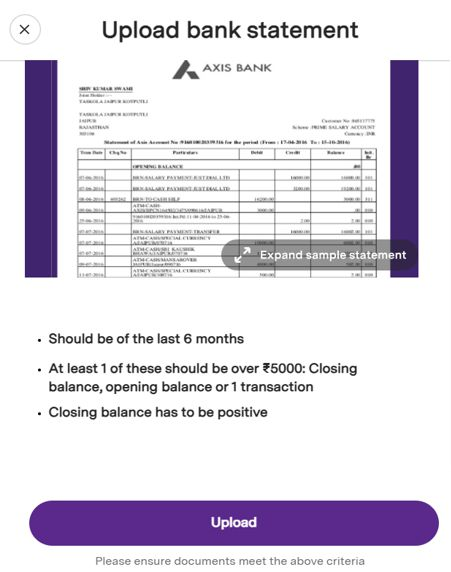
Income proof upload manually:
You can upload a Bank statement , Salary slip , ITR , DP holding and Form 16B.
- You have to ensure, the criteria mentioned below income proof has to be met while uploading the income proof manually.
- If you don’t have a valid income proof, then he/she can skip the step by clicking on I’ll activate later.
21. If uploading a Bank Statement: Make sure to follow the below criteria
- Bank statement should be of last 6 months
- Closing, Opening balance or one transaction should be over ₹5000
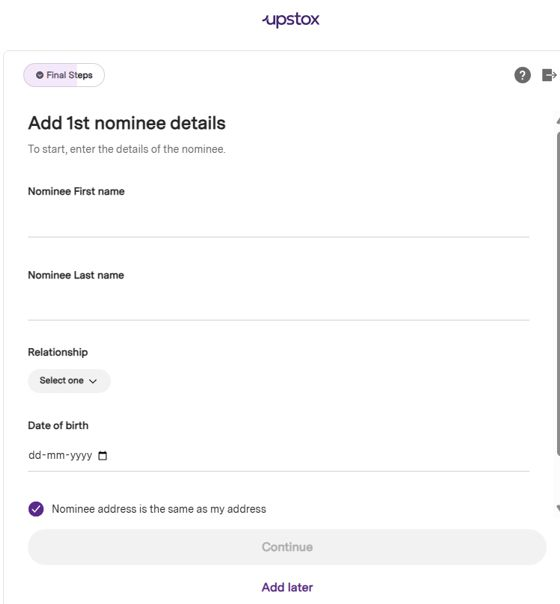
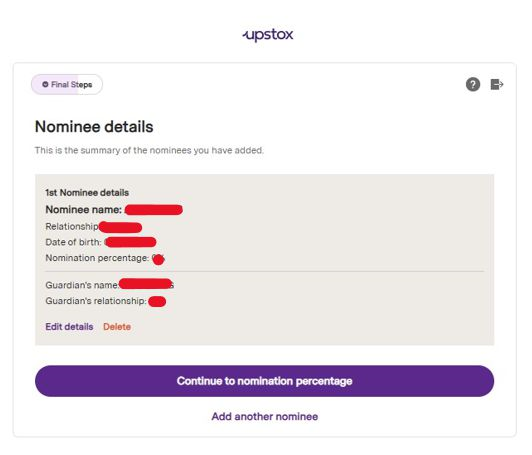
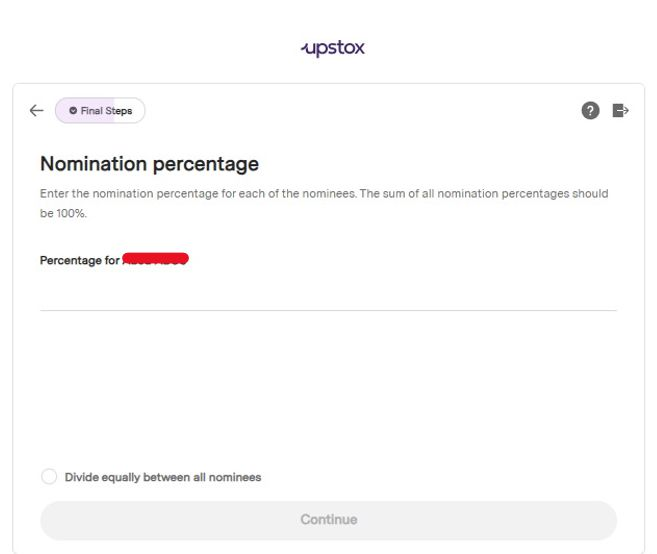
22. Then you will see a ‘Nominee Addition’ screen where you can add upto 3 nominees for your Demat Account.
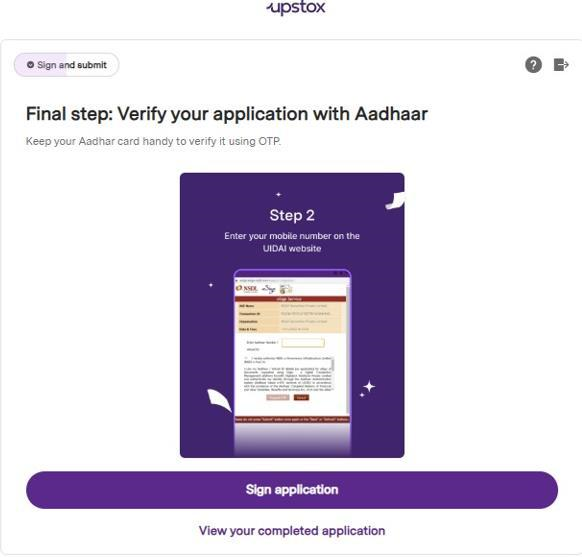
23. In the final step of the account opening process, you will need to click on “Sign application”. If you wish to view the completed application before proceeding, you can click on the same option to review it.
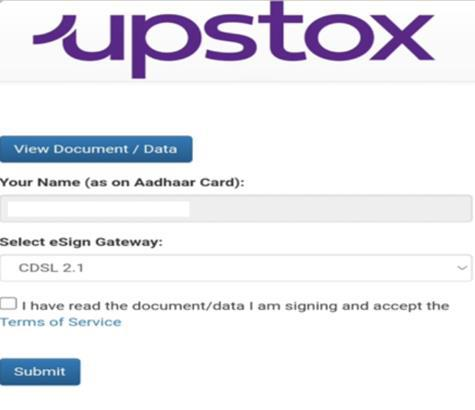
24. After clicking on "Sign Application," you need to tick the checkbox displayed on the screen, and then click on "Submit" to proceed.
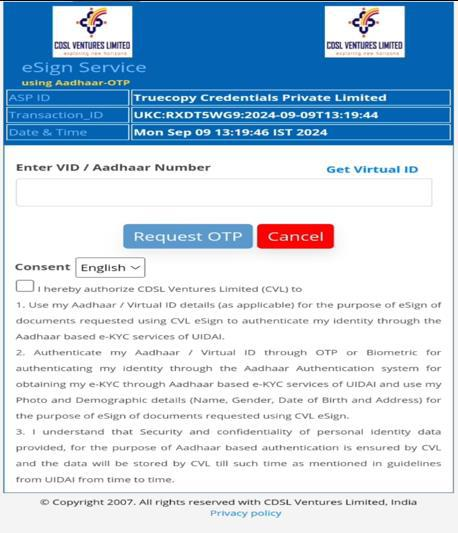
25. You will need to provide your consent by ticking the checkbox that says “I hereby authorize CDSL Ventures Limited (CVL)”.
Next, enter your Aadhaar number exactly as mentioned on your Aadhaar card and request an OTP.
You will receive the OTP on your Aadhaar-linked mobile number.
After entering the OTP, submit the application to proceed.
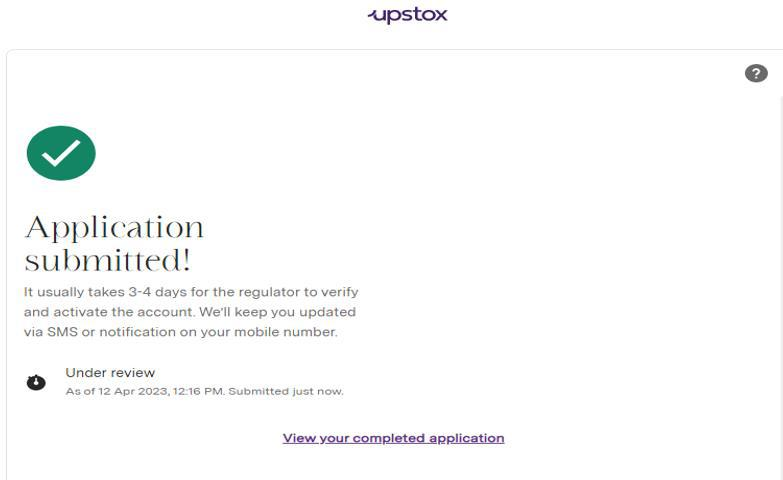
26. Once you complete the eSign step, you will see the final page displaying "Application Submitted."
Trade with Upstox
Want to open a Demat account?
Open a FREE Demat and Trading account to invest in Stocks, Mutual Funds, IPOs and more.
By signing up you agree to receive transaction updates on Whatsapp. You may also receive a call from an Upstox representative to help you with the account opening process.
Upstox Community
Upstox Community
| Topic | Replies | Views | Activity |
|---|