Personal Finance News
Passport delay due to surname mismatch in PAN card: Income Tax Dept offers solution, check details

4 min read | Updated on November 21, 2025, 16:04 IST


SUMMARY
Updating PAN details is necessary, as the PAN is required for various crucial activities, including opening a new bank account, filing Income Tax Returns, making investments, and setting up a business.
Passport applications often get rejected due to discrepancies in information.
Passport applications often take a very long time to be processed due to many administrative steps, security checks and high application volumes.
In most cases, passport applications get rejected due to discrepancies in information. Here are some of the most common reasons why passport applications get delayed:
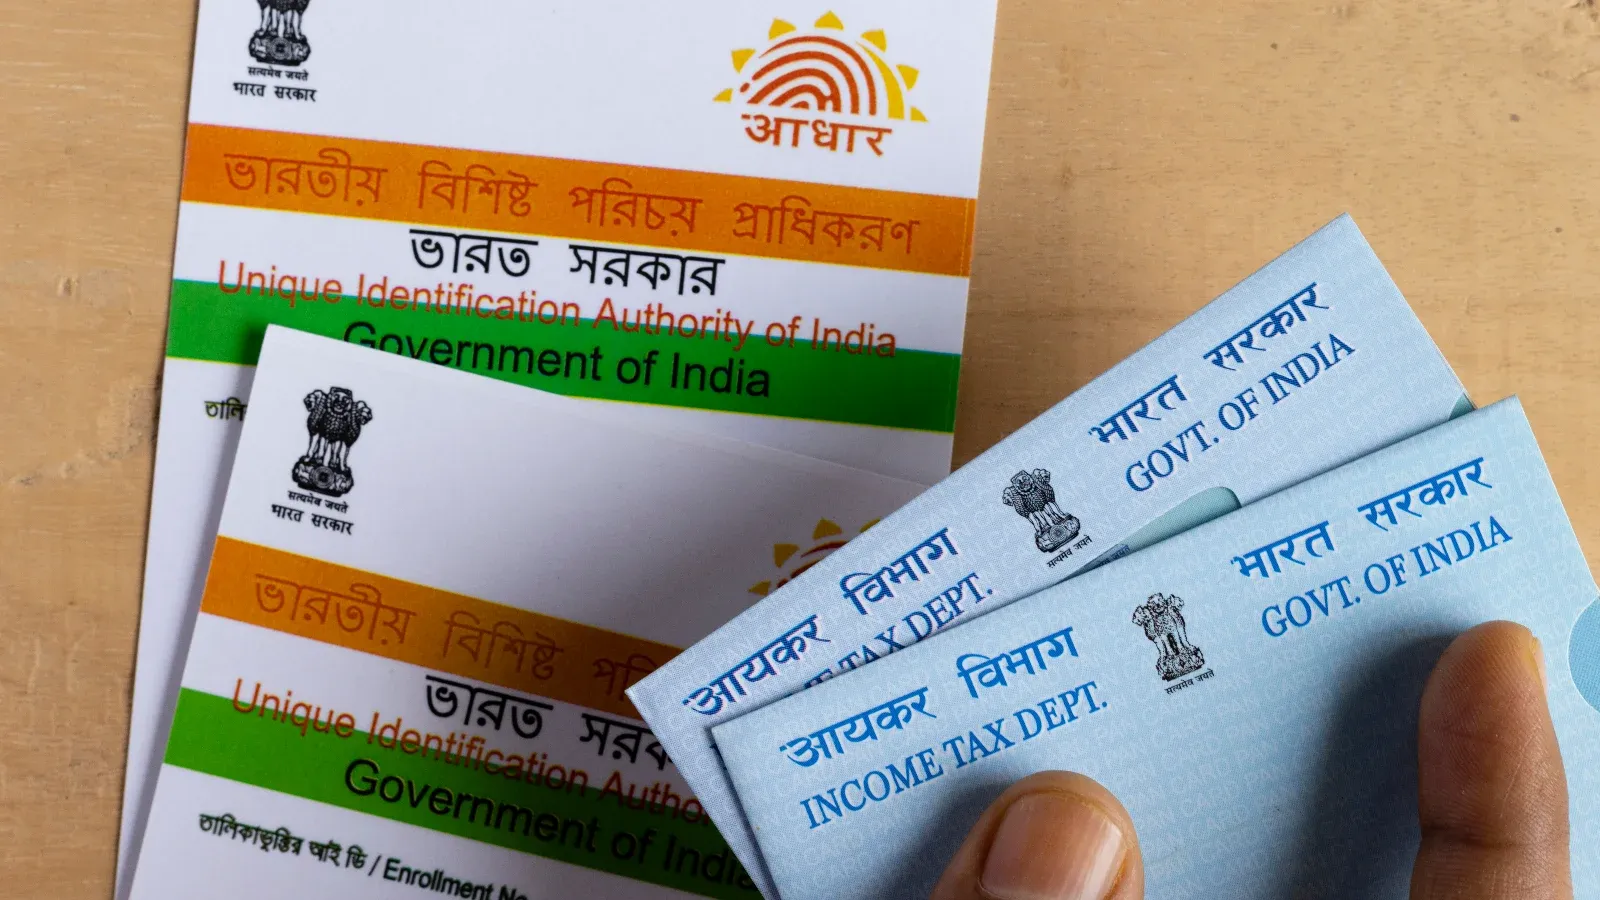
- Mismatch in personal details, like surname or spelling mismatch between passport application and PAN/Aadhaar
- Incomplete or incorrect application form
- Insufficient or invalid supporting documents
- Discrepancies in the date of birth across ID documents
- Unverified address
- Criminal cases or legal issues
- Multiple existing passports
If your passport application got stuck due to a surname mismatch in the PAN Card, you can correct/change it through the Protean eGov portal.
Recently, a user on the social media platform X asked the Income Tax Department for help regarding his father’s passport application, which got stuck due to a mismatch in surname.
How to change PAN details?
The process of updating PAN details can seem complicated and lengthy. You can update details by the ‘eKYC and eSign’ method and by the ‘scanned images through eSign’ method. To make it simple, here is how you can do it by the eKYC method:
- Go to https://tinpan.proteantech.in/
- Scroll down to find ‘PAN Services links’
- Select ‘Apply for PAN’
- In the ‘Select PAN Application Type’, choose ‘Changes or Correction in existing PAN data / Reprint of PAN Card’ from the dropdown.
- From ‘Select Application Category’, choose ‘Individual’
- Select the appropriate Title (Shri/Smt/Kumari)
- Fill in details: Surname, First Name, Middle Name, Date of Birth, Email ID, Mobile Number.
- Select between Yes or No to choose whether you’re a citizen of India
- Enter your PAN Number
- Tick the consent box after reading the conditions.
- Enter the Captcha and submit
- Note down the token number to track your application
- Click on Continue with PAN Application
- In the mode of application, select 'Submit digitally through e-KYC & e-Sign'
- Select between Yes or No to choose if you need a Physical PAN card. Remember that if you select No, you will receive only a digitally signed e-PAN and not a physical copy, which is needed for many applications.
- Enter the last four digits of the Aadhaar.
- If you are fine with the Aadhaar photograph to be printed on the PAN card, select 'Yes'. If you’re not, select 'No' and choose from the other modes.
- Tick the boxes to make corrections or changes in existing data.
- Select gender from the dropdown.
- Fill in parents’ details.
- Select the country code from the drop-down and enter the area code.
- If you have multiple PANs, mention them.
- Click on Next to go to Documents Details.
- Fields like Proof of Identity, Proof of Address and Proof of Date of Birth will be auto-populated
- Select 'Copy of PAN' from the drop-down for Proof of PAN.
- From the Declaration dropdown, select Himself/herself or representative assessee.
- Enter the number of documents enclosed (No. of documents you’ve submitted).
- Fill in the place (where you are).
- Submit
- You’ll now reach the confirmation screen, where you’ll need to enter the first 8 digits of your Aadhaar and confirm the details.
- Click on next.
- On the payment page, you’ll see various online payment options. Make the payment
- On the authentication portal, click on the consent check box to provide consent for using Aadhaar details.
- Click on ‘Continue with e-KYC authentication’
- Now, on the e-sign portal for digital signing of the application, re-enter your Aadhaar number and provide consent for e-Sign for the PAN change or correction application.
- Complete OTP authentication.
- After successful authentication, you’ll see a digitally signed PDF of the application on your screen.
Mostly, you’ll receive your updated e-PAN within two hours, and the physical PAN will be delivered to your doorstep if you chose the Physical PAN option earlier.
Updating PAN details is necessary, as the PAN is required for various crucial activities, including opening a new bank account, filing Income Tax Returns, making investments, and setting up a business.
Related News
About The Author
Next Story


